How to Install Gitea on Ubuntu 24.04 LTS — A Complete Step-by-Step Guide

Managing Git repositories on your own infrastructure offers better control, privacy, and customization. Gitea, a lightweight and self-hosted Git service, is one of the best alternatives to GitHub or GitLab for teams that want simplicity and speed. In this tutorial, you’ll learn how to install Gitea on Ubuntu 24.04 LTS, configure it for production use, and start hosting your own Git repositories.
🧭 What Is Gitea?
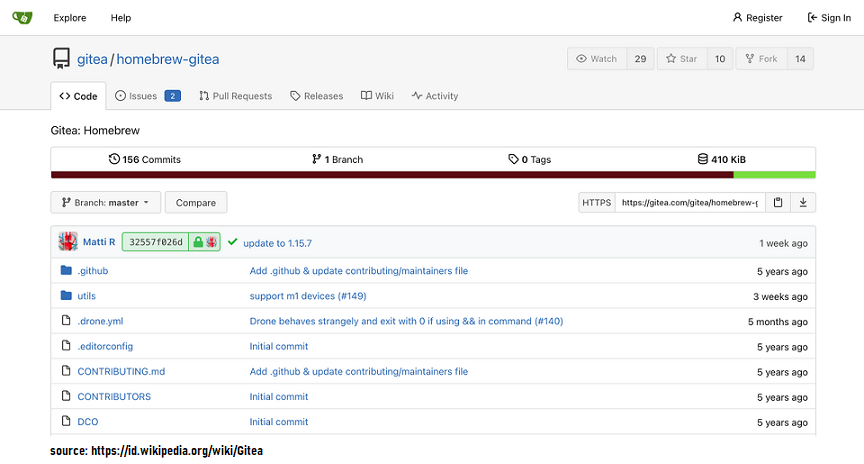
Gitea is an open-source, self-hosted Git service written in Go. It provides features like repository management, issue tracking, code review, and a web-based interface—similar to GitHub—but lightweight and easy to deploy. It’s perfect for small teams, developers, or organizations that want a private Git server without complex setup.
Key Features:
- Lightweight and fast
- Web-based interface
- Built-in issue tracker
- Wiki and project management tools
- Integration with CI/CD tools
- Low resource consumption
⚙️ Prerequisites
Before you start, ensure your environment meets the following requirements:
- Ubuntu 24.04 LTS system
- Sudo privileges on the server
- Git and MariaDB or PostgreSQL installed
- Firewall access to HTTP (port 80) and HTTPS (port 443)
🧩 Step 1: Update Your System
It’s always best to start with updated repositories and packages.
sudo apt update && sudo apt upgrade -yOnce the update completes, reboot your system if necessary.
🧰 Step 2: Install Required Dependencies
Install essential tools and packages for Gitea.
sudo apt install git mariadb-server mariadb-client nginx -yIf you prefer PostgreSQL, you can install it instead of MariaDB:
sudo apt install postgresql postgresql-contrib -y🗄️ Step 3: Create a Database for Gitea
For MariaDB/MySQL:
Log in to the database shell:
sudo mysql -u root -pCreate a database and user for Gitea:
CREATE DATABASE gitea CHARACTER SET 'utf8mb4' COLLATE 'utf8mb4_unicode_ci';
CREATE USER 'giteauser'@'localhost' IDENTIFIED BY 'StrongPassword';
GRANT ALL PRIVILEGES ON gitea.* TO 'giteauser'@'localhost';
FLUSH PRIVILEGES;
EXIT;
For PostgreSQL (optional):
sudo -u postgres psql
CREATE DATABASE gitea;
CREATE USER giteauser WITH PASSWORD 'StrongPassword';
GRANT ALL PRIVILEGES ON DATABASE gitea TO giteauser;
\q
👤 Step 4: Create a Gitea System User
Create a dedicated user and directory for Gitea files.
sudo adduser \
   --system \
   --shell /bin/bash \
   --gecos 'Gitea user' \
   --group \
   --disabled-password \
   --home /home/gitea \
   gitea
📦 Step 5: Download and Install Gitea
Visit the official Gitea download page and copy the latest binary link for Linux.
cd /tmp
wget -O gitea https://dl.gitea.io/gitea/1.22.0/gitea-1.22.0-linux-amd64
sudo mv gitea /usr/local/bin/
sudo chmod +x /usr/local/bin/gitea
🗂️ Step 6: Setup Directory Structure
Create directories for configuration, data, and logs.
sudo mkdir -p /var/lib/gitea/{custom,data,log}
sudo chown -R gitea:gitea /var/lib/gitea
sudo chmod -R 750 /var/lib/gitea
sudo mkdir /etc/gitea
sudo chown root:gitea /etc/gitea
sudo chmod 770 /etc/gitea
🔧 Step 7: Create a Systemd Service File
Create the Gitea service configuration file:
sudo nano /etc/systemd/system/gitea.servicePaste the following content:
[Unit]
Description=Gitea (Git with a cup of tea)
After=syslog.target
After=network.target
Requires=network.target

[Service]
RestartSec=2s
Type=simple
User=gitea
Group=gitea
WorkingDirectory=/var/lib/gitea/
ExecStart=/usr/local/bin/gitea web --config /etc/gitea/app.ini
Restart=always
Environment=USER=gitea HOME=/home/gitea GITEA_WORK_DIR=/var/lib/gitea

[Install]
WantedBy=multi-user.target
Save and close the file, then enable and start the service:
sudo systemctl daemon-reload
sudo systemctl enable gitea
sudo systemctl start gitea
🌐 Step 8: Configure Nginx as a Reverse Proxy
Create a new Nginx configuration file for Gitea:
sudo nano /etc/nginx/sites-available/giteaAdd the following configuration:
server {
    listen 80;
    server_name git.example.com;

    location / {
        proxy_pass http://localhost:3000;
        proxy_set_header X-Real-IP $remote_addr;
        proxy_set_header X-Forwarded-For $proxy_add_x_forwarded_for;
        proxy_set_header Host $host;
        proxy_set_header X-Forwarded-Proto $scheme;
    }
}
Enable the configuration and restart Nginx:
sudo ln -s /etc/nginx/sites-available/gitea /etc/nginx/sites-enabled/
sudo nginx -t
sudo systemctl restart nginx
🧱 Step 9: Complete Web Installation
Open your browser and go to:
http://your-server-ip:3000or
http://git.example.comYou’ll see the Gitea setup page. Fill in the required fields:
- Database Type: MySQL/MariaDB or PostgreSQL
- Database User:
giteauser - Database Password: (the one you created earlier)
- Application URL:
http://git.example.com/ - Admin Account: create a username and password
Click Install Gitea to finalize the setup.
🔒 Step 10: Secure Gitea with HTTPS (Optional but Recommended)
To enable HTTPS, install Certbot and obtain a free SSL certificate from Let’s Encrypt:
sudo apt install certbot python3-certbot-nginx -y
sudo certbot --nginx -d git.example.com
After installation, your site will automatically redirect HTTP to HTTPS.
🚀 Step 11: Access and Use Gitea
Now that everything is set up, visit your Gitea dashboard via your domain or IP address.
You can create repositories, add SSH keys, invite team members, and manage projects — all from a sleek and minimal web interface.

🧾 Conclusion
By following this step-by-step guide, you’ve successfully installed Gitea on Ubuntu 24.04 LTS. You now have a fast, lightweight, and self-hosted Git service to manage your code securely and efficiently.
Whether you’re working solo or managing a team, Gitea provides the perfect balance between simplicity and powerful version control capabilities.